Showing posts with label makeover. Show all posts

Tuesday, February 15, 2011

Before & After Chairs

I am so excited about these chairs!  I found them and could not pass them up!  A new coat of paint and a great fabric will totally revitalize them.  Now I just have to decide what color paint and which fabric will suit them best.   I have been searching for inspiration on how I will refurbish these beauties.  They would be acceptable for outdoor chairs, but I think they have so much more to offer!  So, the "after" of these chairs is still to come....but, these are some pictures I found of other "reborn" chairs that I love, and am considering for inspirational ideas,

These are my chairs......


These are the inspiration.....

{via: Janis}

{via: Susie}

{via: Kirsten Design Sponge}

{via: Nancy}

{via: Danielle}

{via: Jesse}

{via: Jessica}

{via: Susan}

Wednesday, February 9, 2011

Transform Your Room With Wall Decals

Wall decals have been popping up all over lately.  At first they were mostly seen in children's rooms or nurseries.  Well, wall decals have come a long way!  Now we are seeing them in bedrooms, bathrooms, kitchens and entry ways.  And we are seeing them applied to contemporary and traditional rooms.  They are an easy and fairly inexpensive way to makeover any space and add a focal point to any room.  Wall decals can be used like artwork, and are a great way to personalize your space.


{via: elmostudio}


{via: Lanakole}


{via: tezis}

{via: wowwall}

{via: tezis}

Monday, January 31, 2011

Basement Makeover

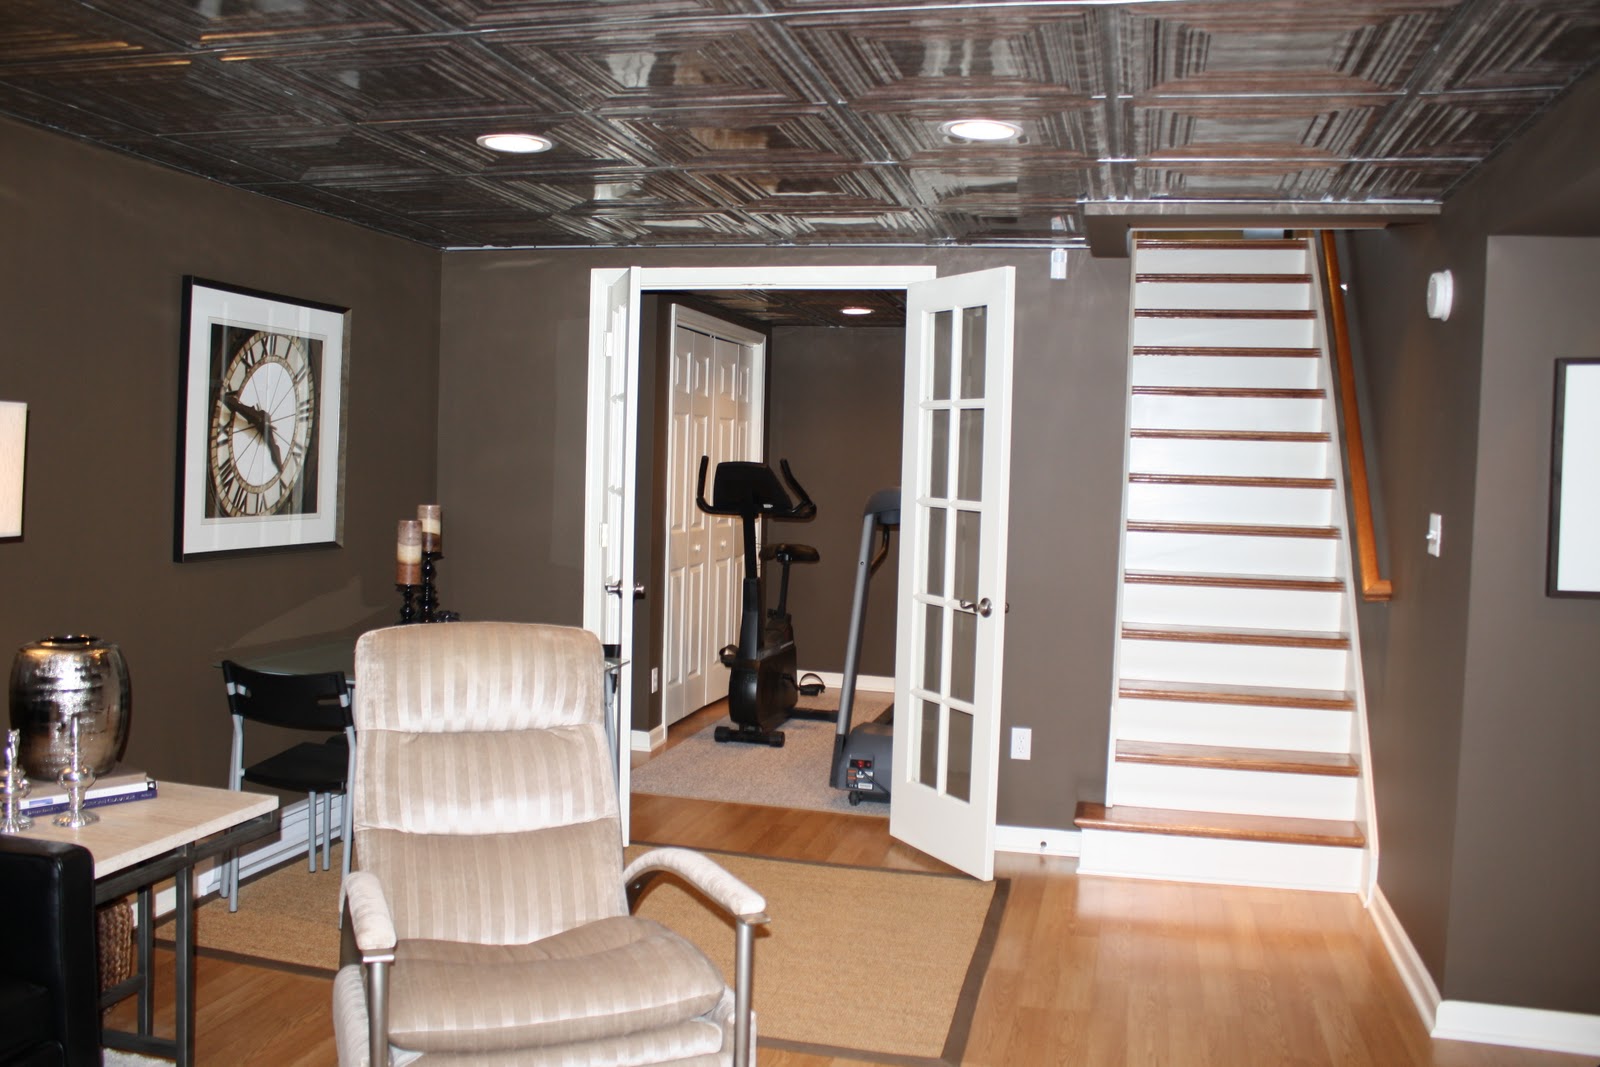
Our basement was in pretty bad shape when we bought our house.  They called it "semi-finished".  Luckily we loved the rest of the house so much that the basement really didn't matter.  And we knew we could rennovate.  I tried to keep the family room a little masculine, knowing that my husband would be spending the most time there!  I used a chocolate brown paint, black leather and black and white architectural prints.  However, I still wanted it to be warm and inviting so I added a light wood floor with a cream shag, some patterned throw pillows and a faux tin ceiling just to give the drop ceiling some interest.  The guest bedroom and bath were just all about incorporating furniture we already had and creating an inviting bedroom for our occassional house guests.

BEFORE: Staircase Area

AFTER: Staircase Area


BEFORE: Family Room Area


AFTER: Family Room Area


Before: Laundry Area

After: Laundry Area


Before: Spare Bedroom

AFTER

BEFORE

AFTER